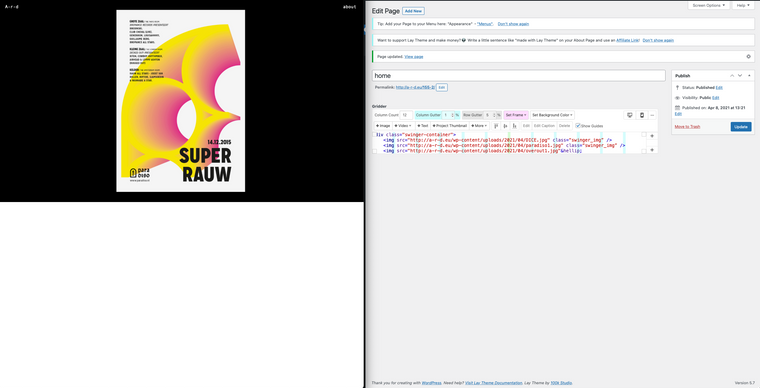
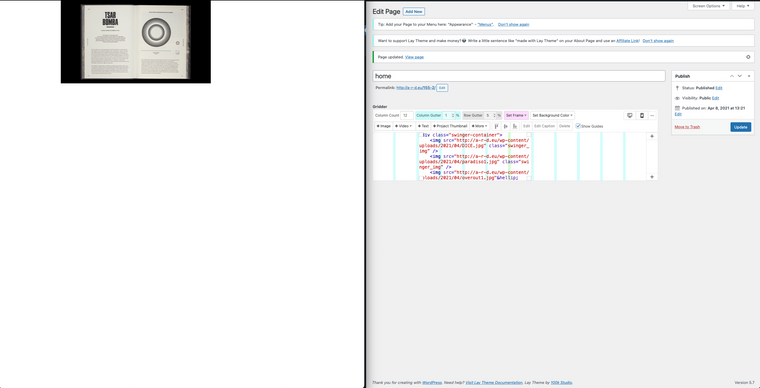
hover over area shows different picture
-
Hi there,
I just helped a friend setup this exact effect on Lay using a jQuery plugin called Swinger.
You can find the necessary files here:
https://github.com/FrancescoLorenzetti84/SwingerIt will create this exact effect for you and it works really well with Lay.
If you need any help with the setup then I'll gladly try and guide you through it.
All the best.
@Bwise Thank you!
That sounds like a very convenient alternative, if you have the time could you roughly tell me how to implement this?I added the script in the Custom <head> content box in lay options (which is where it should be I assume?)
For the remaining part do I place a carousel at 100vh and target these images right?```
Where should I place this?<div class="swinger-container"> <img src="1.jpg" /> <img src="2.jpg" /> <img src="3.jpg" /> <img src="4.jpg" /> <img src="5.jpg" /> <img src="6.jpg" /> <img src="7.jpg" /> </div> -
So the way he has it setup is:
- Add a custom HTML element/code block onto your page and paste the "swinger-container" html in there.
- Link to the swinger.js file, in the <head> should be fine. I don't actually use Lay myself I just helped my friend with the code, but either there or before the closing <body> tag should work also.
- Add the below script to initialise swinger.js, just make sure to include it after you include the swinger.js file :
<script>$(".swinger-container").swinger();</script>- It should then be functional, you may have to play around with the CSS of the images. Depending on what you want you could set height to 100vh and width to 100%.
The object-fit property could give you a bit more control also.
https://www.w3schools.com/csS/css3_object-fit.asp.
Any issues let us know.
-
Also don't forget to replace $ with jQuery, something I know you have to do with Lay.
You could alternatively try this code so you can use $, I'm not 100% sure about the jQuery setup that Lay uses so it might not work. A few examples anyway.
(function($) {
    $(document).ready(function() {
       //jQuery code here
    });
})(jQuery);
jQuery( document ).ready(function( $ ) { // Code that uses jQuery's $ can follow here. }); -
Also don't forget to replace $ with jQuery, something I know you have to do with Lay.
You could alternatively try this code so you can use $, I'm not 100% sure about the jQuery setup that Lay uses so it might not work. A few examples anyway.
(function($) {
    $(document).ready(function() {
       //jQuery code here
    });
})(jQuery);
jQuery( document ).ready(function( $ ) { // Code that uses jQuery's $ can follow here. });@Bwise I got it to work somewhat, thank you so much
The general concept is there, working great but upon loading the page there is a slow glitchy image loading phase.
How would I get rid of that?I ended up placing all code in the <head> html space and that seemed to make it work, but maybe it makes the page too heavy now?
I set up a test page at www.a-r-d.eu/155-2 to try this all out, maybe you can spot the issue?
Anyway I'm well pleased that you got me this far so easily.
Alex
-
Excuse me for the frequent updates, but I'm having too much fun figuring this out.
So far I managed to get rid of the issues I had:
Figured out that I don't need to use the carousel on the page design itself, just paste the html swinger container. This got rid of the weird glitchy stuff upon loading the website for the first time.
This in turn also made my menu clickable again, but sadly the container was no longer 100vh -> I fixed this with css
.swinger-container {
    width: 100vw;
    height: 100vh;
}
Now there is an "issue" that the site displays the container at small size first before loading fully to 100vh.
So I'm guessing something is stopping the css from loading instantly.
Any guesses on how to make this a smooth experience?
The rest seems quite snappy and fast. -
Hi, sorry for the delay. That's great you have it working, I had a look at your page and it looks great.
Sorry I should have said you don't need the carousel.
I see what you mean with the images loading in a bit smaller then stretching.
As the code for the swinger function is wrapped in
$( document ).ready(function() {
//swinger code
}
Until the DOM fully loads, the JS will not execute and it is here that the image is set to 100% width.
You could give each image within the "swinger-container" a class such has "swinger-img" and then just copy the CSS rules from swinger.js and set it directly in CSS instead? Then just delete the part from swinger.js that changes the CSS.
Hopefully Lay loads CSS before JS and that way the images should appear full size straight away?
I don't know if this is the best way to do things but it's what I would try first.
-
Sorry that was so badly written. Basically my idea is :
- Add a class to each image within swinger-container, for example "swinger-img"
- Set "swinger-img" class to the following rules :
position: absolute
top: 0%
left: 0%
width: 100%- Delete the following from swinger.js
$images.css({ "position": "absolute", "top": "0%", "left": "0%", "width": "100%" }); -
Sorry that was so badly written. Basically my idea is :
- Add a class to each image within swinger-container, for example "swinger-img"
- Set "swinger-img" class to the following rules :
position: absolute
top: 0%
left: 0%
width: 100%- Delete the following from swinger.js
$images.css({ "position": "absolute", "top": "0%", "left": "0%", "width": "100%" });I tried it and it seems to work! (maybe dragging the html box to full width on the page editor helped too)
there is still some overlapping glitch thing happening when loading the page, but I changed the images to optimized file sizes and dimensions so this seems to make it load faster at least.However I noticed the image either gets clipped at the bottom (instead of full vh) or there is some scrolling so there seems to be a responsive issue going on. You can see the white space beneath the images when resizing the browser a little.
I tried to adress it with css but alas no succes yet.
this is the code I'm using:
.swinger_img {
    position: absolute;
    top: 0%;
    left: 0%;
    height: 100%;
    overflow: hidden;
}

.swinger-container {
    position: absolute;
    top: 0;
    left: 0;
    height: 100%;
    overflow: hidden;
}
In any case, thank you so much for being so helpful!
-
Yea the loading is much better now on my end too.
Just looking at the code I can't see the swinger_img class on the images.

I suspect this would be causing the odd behavior or at least adding to it.
@Bwise yes sorry I had removed the class temporarily.
I have come to the conclusion that the css is being overridden in some way by the page styling.If I extend the html box to full width it becomes full width to some extent, like we saw until now.
If I manipulate the dimensions of the box it becomes small and uncentered again.
Maybe there is a different way to add the html on a page?


-
-
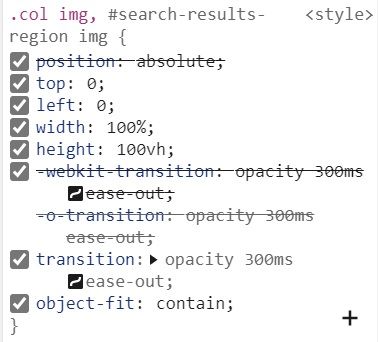
So to fix the clipping at the bottom, I just changed height: 100% to height:100vh as you can see in the image below. You can also add object-fit here and play around with that to size the images.
I would keep the html box full width within Lay grid.

@Bwise Thanks again for the help!
I remade this whole swinger.js contraption outside of laytheme to find the best way to make it adapt to different browser sizes.
This is the css now and it seems to work quite well:
div.swinger-container {
    text-align: center; /* ensures the image is always in the h-middle */
    overflow: hidden;
    width: 100vw;
height: calc(100vh);

}

div.swinger-container img {
    object-fit: cover;
-o-object-position: center center;
object-position: center center;
width: 100%;
height: 100% !important;
  }
now I'm off to figuring out how to add the caption to the images, which is a whole other thing (if you have any idea please let me know). On stackoverflow someone suggested using a title attribute in the img scr and adjusting the jquery to display this.
But it seems to limit styling and position of the text (afaik)
I also code custom websites or custom Lay features.
💿 Email me here: 💿
info@laytheme.com
Before you post:
- When using a WordPress Cache plugin, disable it or clear your cache.
- Update Lay Theme and all Lay Theme Addons
- Disable all Plugins
- Go to Lay Options → Custom CSS & HTML, click "Turn Off All Custom Code", click "Save Changes"
This often solves issues you might run into
When you post:
- Post a link to where the problem is
- Does the problem happen on Chrome, Firefox, Safari or iPhone or Android?
- If the problem is difficult to explain, post screenshots / link to a video to explain it