hey, you could just use the table feature to design it how you would like and manually add in your project links?
A
alasdair17
@alasdair17
Posts
-
Project Index – adding extra header and columns? -
text on image and stacksamazing! thanks @arminunruh
-
text on image and stacks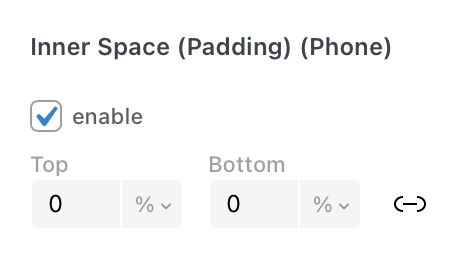
sorry noticed another thing! could we have left and right padding for stacks and images on the sidebar?
-
text on image and stacks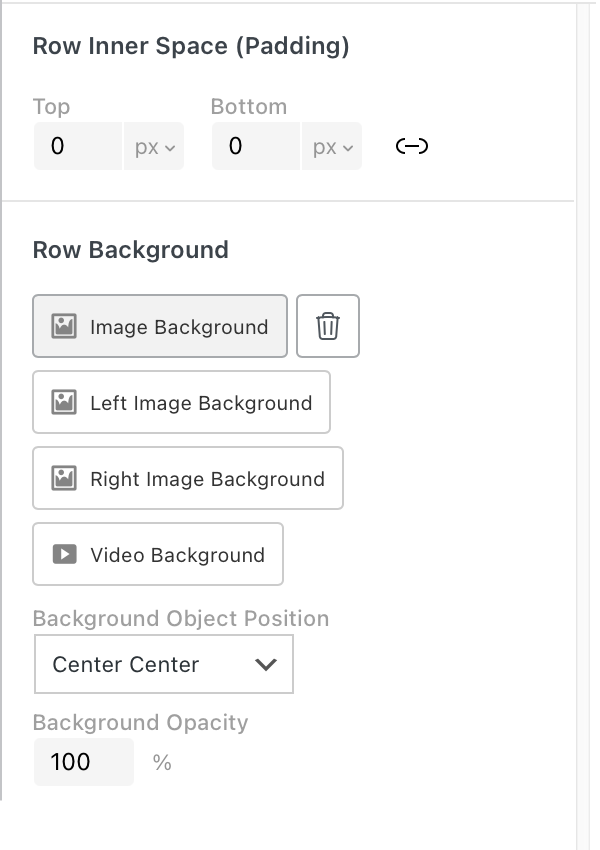
could we also have more control of row image backgrounds for mobile here? Like be able to choose a different position for mobile?
-
text on image and stacks
also noticed @arminunruh that text elements inside a stack the padding isn't applied.
-
text on image and stacks@arminunruh thanks! and yeah no worries as that makes sense!
-
text on image and stackshey @arminunruh
really enjoying the sidebar features!
Text on Image (Sidebar):
When you add a rounded corner to an image and apply a gradient to it the gradient doesn’t take into account that the corner is round and applies it as if it were a rectangle.
Could we have a blurred effect option when a gradient is applied here? So either the top or bottom of the image is slightly blurred with text on top - could be cool!
Stacks:
When you build a card using a stack (image, text and background colour etc together) the background shape doesn’t cleanly enter or exit the page when you have navigation transitions on. It always shows up first or last. It works fine when it’s not in a stack, like if it's just text with a background colour. Hope that makes sense!
Thanks!
-
Multi-step form // Recruitmenthey Sarah, I'd recommend Fluent Forms which has a bunch of features including a multi step form: https://fluentforms.com/multi-step-form/
I use fluent forms all the time now for websites and it works well with lay theme :)
-
hide second menusimilar issue with using a different colour on the site title and menu items, it only works when I refresh the page, it reverts back when you navigate through the pages. Not a huge issue as can use css, but just a heads up!
-
switch views on a overlay menu@fesch hey, you could probably achieve this using the 'expand/collapse row' feature within your overlay page.
-
asking everyone: for a Cookies/gdpr plugin reccomendationhey, this one is really simple, lightweight and easily customisable with css: https://power-plugins.com/plugin/mini-wp-gdpr/
-
category has a white section I didn't addhey i just had a quick look and looks like it is something to do with this:
#grid.id-3 {
padding-top: 30%;
}if you untick/delete this in chrome inspector the white section goes away.
-
category filter for news@CineST hey sorry for the late reply.
So what to do is:
Create your news categories so you have for example: "news 1", "news 2" and "news 3".
Create your news posts and assign them to the one of the news categories.
Create a new page and add 4 new blank rows.
Right click on row 2 and choose "collapse row", repeat this for rows 3 and 4. It should now say "collapsed" on rows 2, 3 and 4.
Go to More > News Element and at the top left of the dialog box choose "news 1" category - this will only show news from the "news 1" category. Drop this news element in the second row.
Repeat this step again but choose "news 2" from the categories dropdown this time and drop it into the third row.
Repeat again but choose "news 3" and drop into the fourth row.
Now create a text box and type in "news 1", highlight "news 1" and click the upward and downward arrow box (expand/ collapse row link) - this is along the top of the dialog box and to the left of the font name.
The expand row box dialog box will open up and then select "row 2" - you will know its been selected when it becomes a light violet colour. Also in this box tick "collapse other rows". Click Save and then Ok. Drop this text box into the first row.
Now create another text box and type in "news 2" and repeat the same steps but select "row 3" this time and again drop it beside the first text box in the first row.
Create another text box and type in "news 3" and repeat the same steps but this time select "row 4" and finally drop the textbox beside the other two textboxes on the first row.
Publish/Update the page and you should have a simple news category filter system :)
An extra tip would be to change the row gutters between the collapsed rows to 0 so when you filter them they show up in the same place.
Of course you can also call your news categories anything and the textboxes too can be something different - "news 1, news 2, news 3" are just examples.
Lastly, when you are in the expand/row collpase dialog box you can play around with the replacement text and the speed of which they open too.
Hope that helps!
Cheers!
-
Not found error when updating sitehey, I get this too when I update a page with a table on it - it seems more so when I make lots of changes on the page it does this, if its just one or two it seems to update fine.
If you go to screen options (top right) > untick and retick 'gridder json' and copy all the coe there and then make a brand new page, on the new page go to the 'gridder json' again and overwrite and paste in the json from the other page and then make your changes that worked for me.
-
Highlighting single words in a Text paragraph ?@danny hey do you mean so the highlighted text here has a blue background colour on the website and is also a link?
-
website down after updatehey you can redownload the previous lay version that was working here and install it: https://lay-key-and-file-manager-clientdeploy-production.up.railway.app/